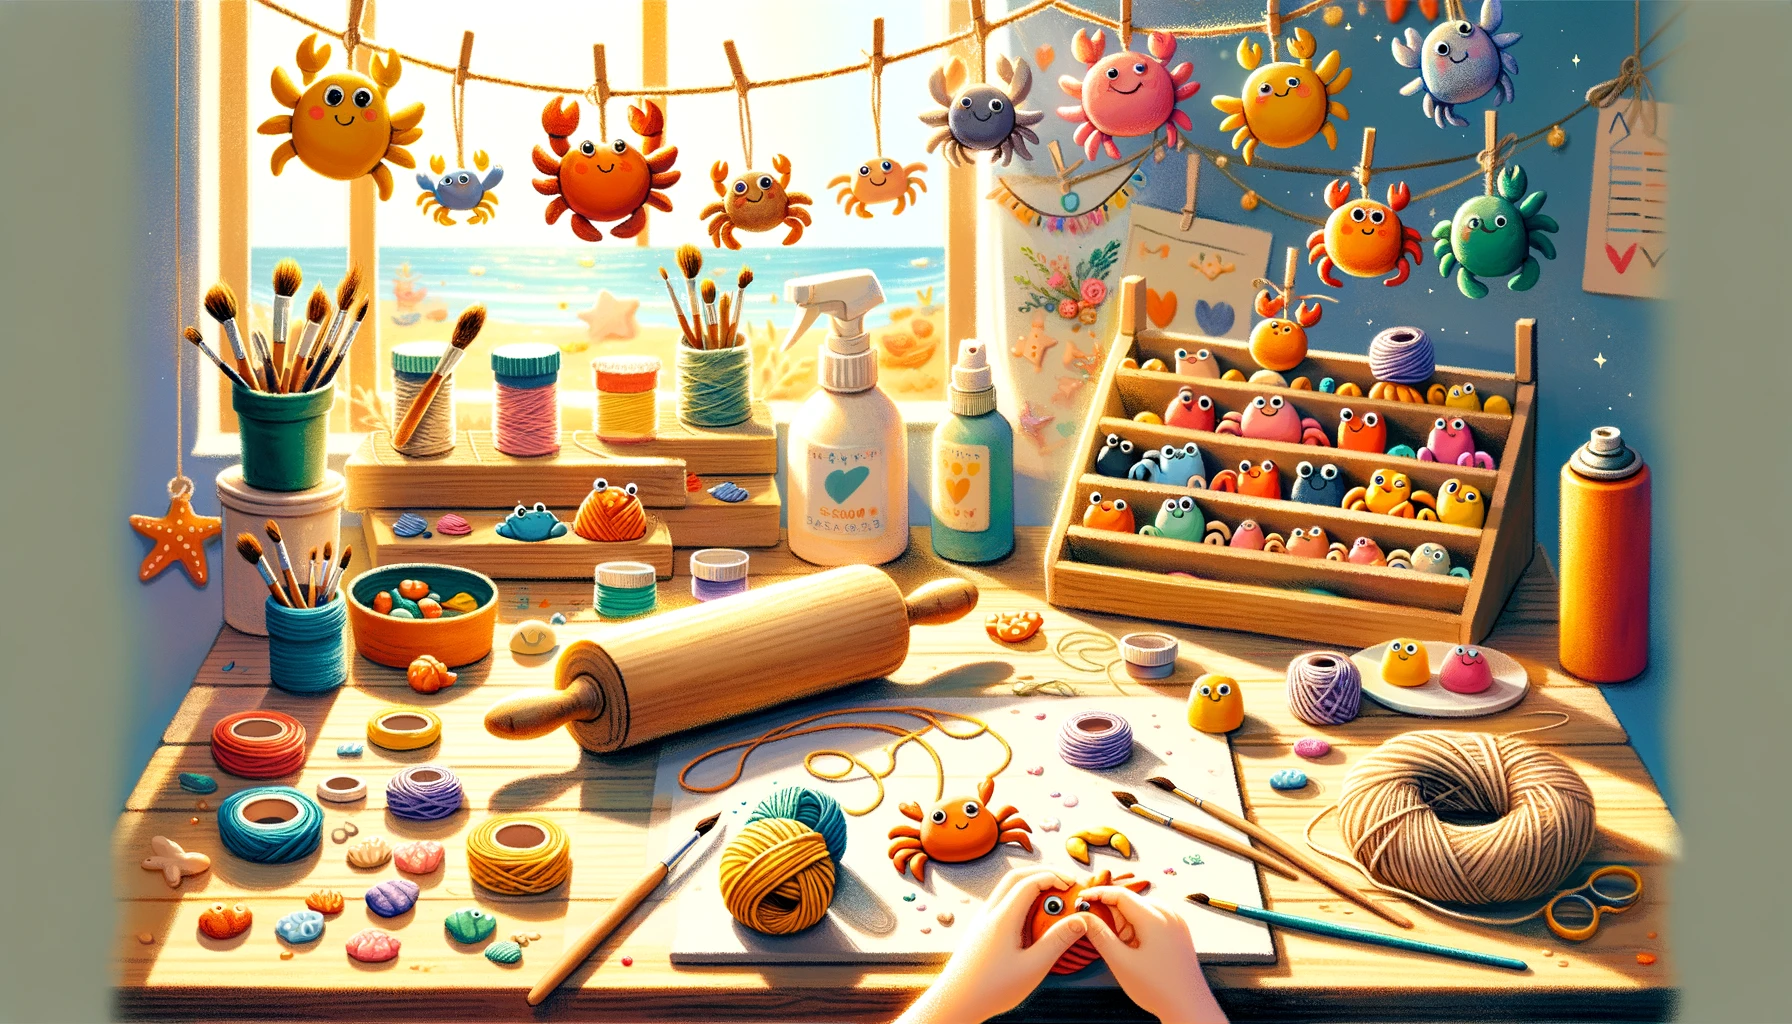

Unleash your child’s creativity and love for sea creatures with a delightful craft project: making clay crab necklaces! This engaging activity allows children to express themselves artistically while creating wearable works of art. Using simple materials like clay, twine, and an eye hook, kids can make this adorable clay crab necklace craft that is both charming and unique. In this detailed blog post, we’ll guide you through the steps to create these delightful accessories that are perfect for any ocean-loving child.
Materials Needed:
- Air-dry clay
- Twine or string
- Eye hook
- Rolling pin
- Clay sculpting tools (optional)
- Acrylic paints (optional)
- Clear sealant spray (optional)
Instructions:
- Prepare the Clay:
- Start by kneading the air-dry clay to soften it and make it more pliable. This will make it easier to work with and shape into the desired form.
- Roll out the clay to a thickness of about 1/4 inch using a rolling pin. Ensure that the surface is smooth and even.
- Shape the Crab:
- Encourage your child to use their imagination to sculpt the clay into a crab shape. They can form a round body and attach four small legs on each side, as well as two larger claws in the front.
- Clay sculpting tools can be used to add texture and detail to the crab’s body, such as indentations for eyes and markings on the shell. However, children can also use their fingers to create these features.
- Create a Hole for the Eye Hook:
- Once the clay crab is shaped to satisfaction, use a small object like a toothpick or skewer to create a hole near the top of the crab’s body. This hole will be used to attach the eye hook later.
- Allow the Clay to Dry:
- Set the clay crab aside in a dry, well-ventilated area to air-dry completely. The drying time will vary depending on the thickness of the clay and the ambient humidity, so be patient and allow sufficient time for it to harden.
- Paint the Crab (Optional):
- If desired, children can paint their clay crabs using acrylic paints to add color and personality. They can choose realistic crab colors like red or orange, or let their imagination run wild with vibrant hues.
- Once the paint has dried, apply a clear sealant spray to protect the paint and give the necklace a glossy finish. This step is optional but recommended for added durability.
- Attach the Eye Hook and String:
- Once the clay crab is dry and painted (if desired), insert the eye hook into the hole created earlier at the top of the crab’s body. Ensure that it is securely in place.
- Cut a length of twine or string to the desired length for the necklace. Thread one end through the eye hook and tie a knot to secure it in place.
- Admire and Wear:
- Once the necklace is assembled, admire the adorable clay crab creation! Children can proudly wear their handmade necklaces or give them as thoughtful gifts to friends and family.
- Encourage them to showcase their creativity and wear their clay crab necklaces with pride, knowing that they’ve crafted a one-of-a-kind accessory that celebrates their love for sea creatures.
Conclusion:
Crafting clay crab necklaces is a fantastic way to spark creativity and imagination in children while allowing them to express their passion for sea life. This engaging activity provides a hands-on opportunity for kids to sculpt, paint, and create wearable art that reflects their unique personalities. Whether worn as a fashion statement or cherished as a handmade keepsake, these charming necklaces are sure to bring joy to children and adults alike. So gather your materials and embark on an under-the-sea adventure with this delightful craft project!
Comments
One response to “Crafting Under the Sea: Clay Crab Necklace Craft”
[…] 7. Clay Crab Necklace […]