Unleash Creativity With Craft Ideas for Kids: How to Create Monster Windsocks
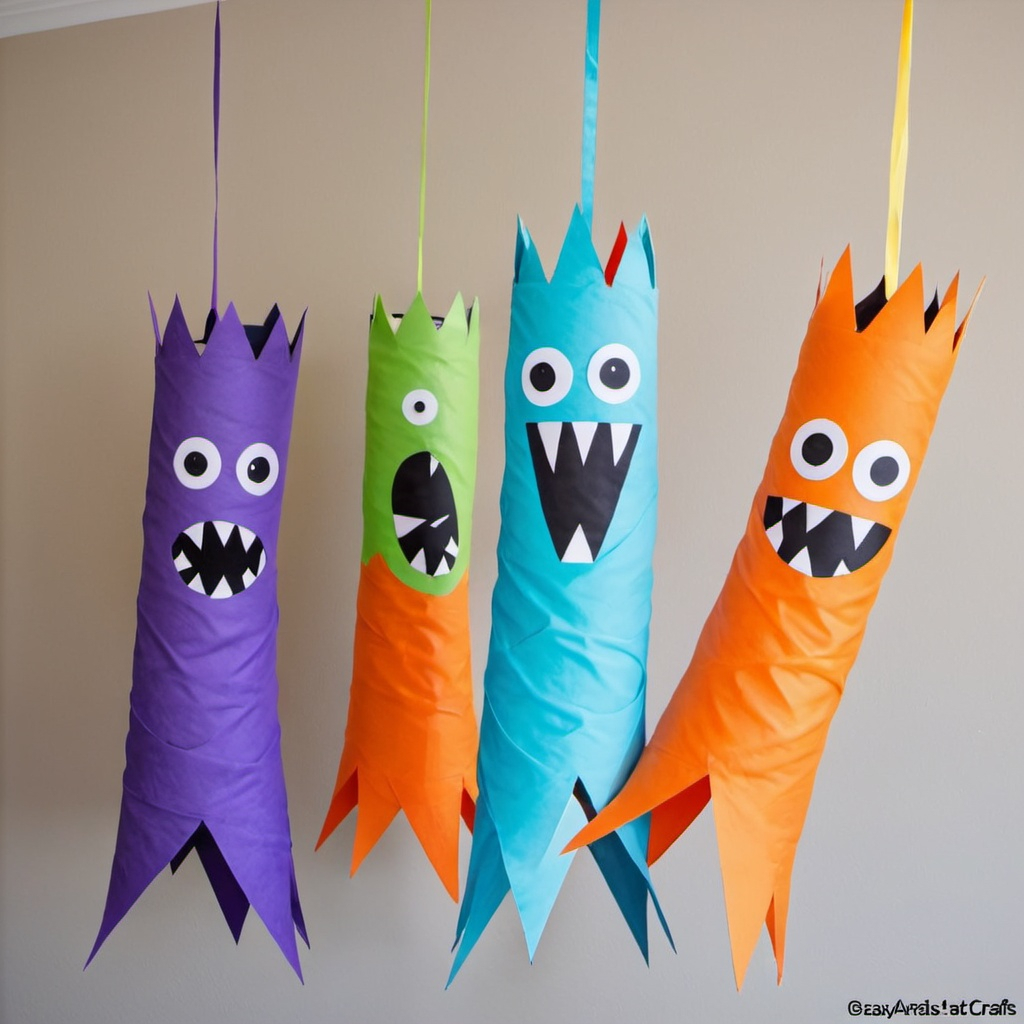
Looking for a fun and engaging craft idea for kids? Look no further than creating monster windsocks! These whimsical creations not only allow children to unleash their creativity but also add a colorful and playful touch to any outdoor space. In this detailed blog post, we’ll guide you through the process of making monster windsocks using cardstock. Hang them in your backyard and watch them dance in the breeze, bringing joy and laughter to all who see them.
Materials Needed
- Cardstock in various colors
- Scissors
- Glue or tape
- Markers or crayons
- Googly eyes
- Yarn or string
- Hole punch
- Optional: decorative embellishments like pom-poms or sequins
Instructions
Step 1: Prepare Your Materials
Gather all the materials needed for this craft project. Lay them out on a clean and spacious work surface, making sure everything is easily accessible.
Step 2: Cut Out the Windsock Shapes
Start by cutting out the main body of the windsock from the cardstock. You can choose any color you like for this. Cut a rectangular piece of cardstock, approximately 8-10 inches wide and 12-15 inches long, depending on how large you want your windsock to be.
Step 3: Decorate the Windsock
Let the creativity flow as kids decorate the cardstock with markers or crayons to create their monster designs. Encourage them to get imaginative with the shapes, colors, and facial expressions of their monsters. Add googly eyes, draw mouths with sharp teeth, and give each monster a unique personality.
Step 4: Add Details and Embellishments
For added flair, kids can glue on decorative embellishments like pom-poms, sequins, or even cut-out shapes from colored cardstock to give their monsters extra character and texture. Let them have fun experimenting with different combinations until they’re happy with the results.
Step 5: Create the Windsock Structure
Once the monster designs are complete, roll the decorated cardstock into a cylinder shape and secure it with glue or tape along the edge. This will form the body of the windsock. Use a hole punch to make two holes at the top edge of the cylinder, opposite each other.
Step 6: Attach the Yarn or String
Cut a length of yarn or string, approximately 12-18 inches long, depending on how high you want your windsock to hang. Thread the yarn through the two holes punched in the top of the windsock and tie the ends together securely to form a loop.
Step 7: Hang and Enjoy
Find a suitable outdoor space to hang your monster windsocks. You can use tree branches, hooks, or even a clothesline. Once hung, watch as the wind catches the windsocks, causing them to dance and sway in the breeze. Enjoy the colorful and playful addition they bring to your backyard!
Conclusion
Creating monster windsocks is not only a fun and creative craft ideas for kids, but also a great way to add whimsy and charm to any outdoor space. By using simple materials like cardstock and letting their imaginations run wild, children can design their own unique monsters that will bring smiles to everyone who sees them. So gather your supplies and get crafting – it’s time to unleash creativity and make some monster magic!
Comments
One response to “How to Create Monster Windsocks”
[…] 2. Monster Windsocks […]