Hello, creative souls! If you’re a parent, preschool teacher, or an early childhood educator looking for a hands-on, fun-filled activity to engage the little ones, then you’ve stumbled upon a goldmine of ideas! Today, let’s dive into the wonderfully messy, yet incredibly rewarding world of paper mâché projects. Whether it’s a rainy day inside or you’re looking for a weekend project, paper mâché offers endless creativity for kids (and adults too!).
What is Paper Mâché?
For those new to the term, paper mâché (French for “chewed paper”) is a composite material consisting of paper pieces or pulp, bound with an adhesive, such as glue, starch, or wallpaper paste. The magic of paper mâché lies in its transformation – what starts as a gloppy mess, turns into a hard, durable form once dried. It’s like alchemy for the craft world!
Getting Started: The Basics
Before we dive into projects, let’s talk about the basics. You’ll need:
- Newspaper or any waste paper: Tear them into strips or small pieces.
- Adhesive: You can use glue mixed with water, but our favourite method is to mix flour with water – mix 1 cup of flour with 2 cups of water and you’ll get the perfect classic paste for your paper mache project.
- A base form: Balloons, cardboard boxes, or even old toys can serve as a foundation for your creation.
- Paints and decorations: Once your project is dry, it’s time to bring it to life with paint, markers, and any decorative items you have on hand.
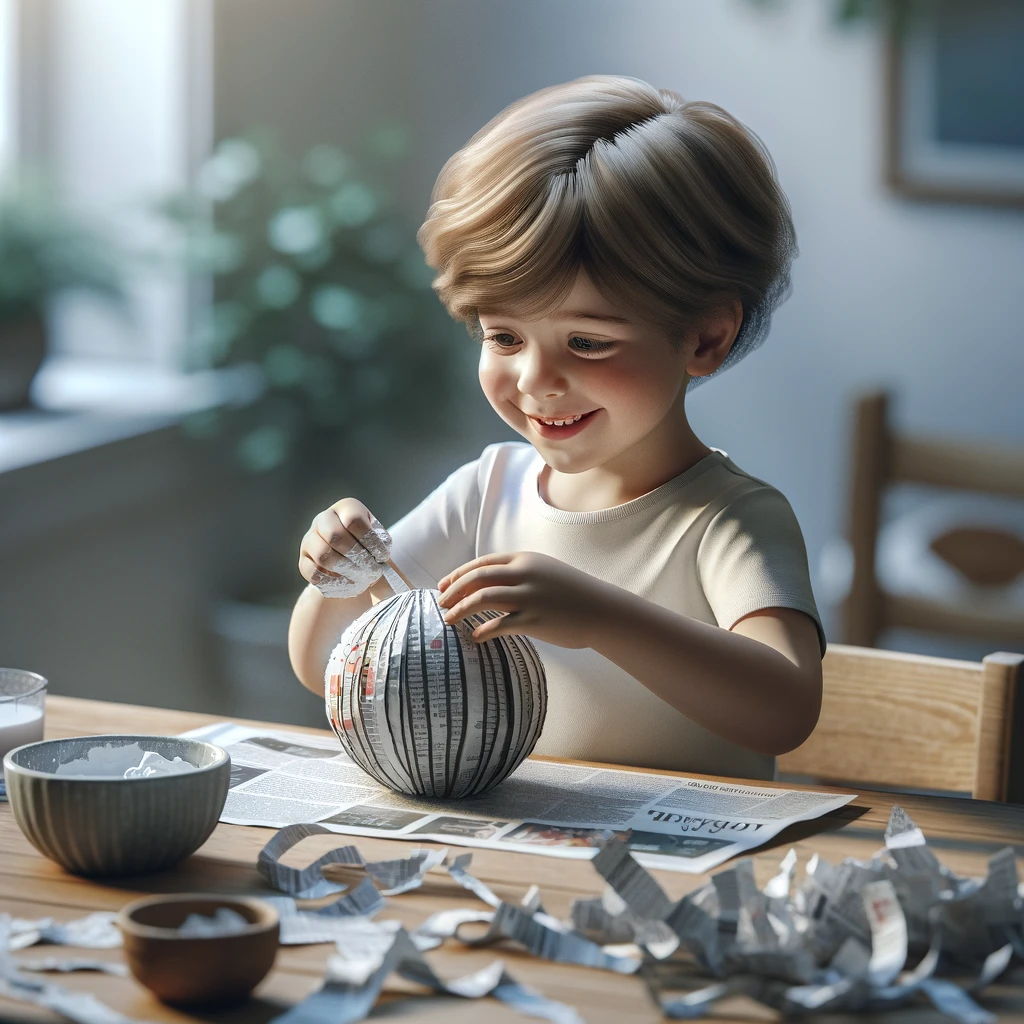
Project 1: The Classic Paper Mache Balloon Bowl

Remember when I mentioned alchemy? Here’s a project that truly feels like magic, especially for the kiddos. The classic balloon bowl is perfect for beginners and offers a great way to introduce children to the basics of paper mâché.
How To:
- Inflate a balloon to the desired size of your bowl.
- Dip your paper strips into the adhesive, remove the excess, and apply them to the balloon. Cover it uniformly, leaving an opening at the top.
- Let it dry for at least 24 hours.
- Once dry, pop the balloon and voila, you have a bowl shape.
- Decorate with paint, stickers, or even fabric.
Personal Anecdote: The first time I did this project with my 3 year old niece, her eyes lit up when we popped the balloon. She decided to paint it yellow and call it “The Sunshine Bowl”. It’s still on her bedside table, holding her treasures.
Project 2: Paper Mache Mask Making

Halloween, school plays, or just for fun, masks can transform your little ones into characters from their wildest dreams. Making masks with paper mâché is not only easy but allows for endless creativity.
How To:
- Use a balloon or a flat, face-shaped cardboard as your base.
- Apply paper mâché, forming features like noses or eyebrows with additional layers.
- Once dry, cut out eye holes and paint to bring your mask to life.
Masks can be anything: animals, superheroes, or fantastical creatures. Encourage your kids to dream up their design, assisting with the tricky bits like cutting out the eyes.
Project 3: Paper Mache Treasure Chests

This project is a hit, especially if you have pirate fans at home. Using a small cardboard box as a base, you can create a treasure chest that’s perfect for storing little treasures.
How To:
- Prepare your box by opening it out flat, then refolding it to create a domed lid (like a treasure chest).
- Apply paper mâché over the box and lid separately.
- Once dry, paint and decorate. Don’t forget to add a gold lock and details!
We made a treasure chest for my son’s fifth birthday, filled with “gold” coins and jewels. It was a treasure hunt prize, and the chest itself became a cherished keepsake.
Tips for Success:
- Patience is Key: Paper mâché projects require drying time, often overnight. Use this waiting period to plan out how you’ll decorate.
- Mess Management: Lay down newspapers or a plastic sheet before starting. Aprons or old t-shirts are also great to protect clothes.
- Involve the Kids: From ripping paper to painting, there’s a job for every age. It’s a fantastic way to develop fine motor skills and creativity.
- Experiment: After mastering the basics, don’t be afraid to experiment with different forms and techniques.
Wrapping Up
Paper mâché is a fantastic, low-cost way to engage with your children or students in a creative project. It’s not just about the end product but the process – getting messy, making mistakes, and having fun. The pride in their eyes when they display their finished projects is truly priceless.
Remember, the best part of paper mâché projects is the opportunity they provide for imagination, creativity, and bonding. So, roll up your sleeves, and let’s get crafting!
Comments
One response to “Fun With Paper Mâché: How to Make Paper Mache”
[…] Step-by-Step Guide to Paper Mache […]