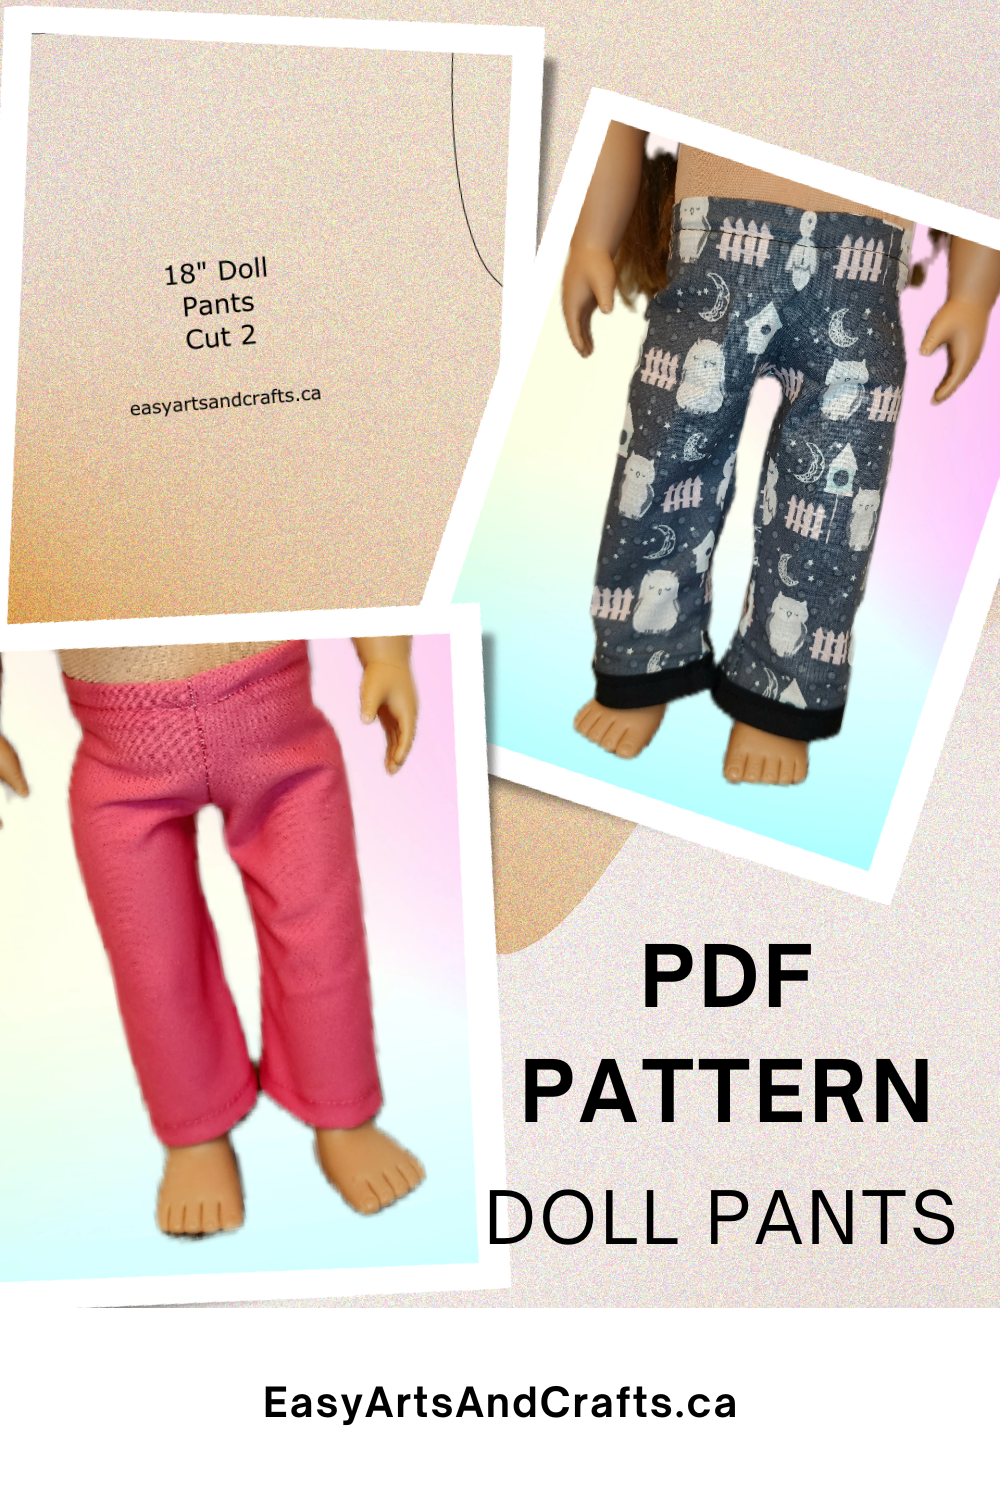

How to Sew Doll Pants: A Fun DIY Project
Sewing doll pants is a delightful project for craft enthusiasts of all levels. Whether you’re new to sewing or have years of experience, this guide will help you create a charming pair of pants for any 18″ doll. Embrace eco-friendliness by upcycling fabric from thrifted clothes or remnants for a personalized touch. Use our free PDF doll pants pattern and follow our step-by-step guide on how to make doll pants to make your own!
Materials Needed
- Free Printable Sewing Pattern for Doll Pants: Click here to download
- Fabric: Choose your preferred type. Upcycled materials are great for an eco-conscious choice.
- Sewing Machine or Needle and Thread: Depending on your comfort level and availability.
- Scissors: For cutting fabric and trimming threads.
- Elastic Band: This will form the waistband of the pants.
- Pins: To hold fabric pieces in place before sewing.
- Optional: 1/4 inch Bias Double Fold Tape for a professional-looking hem.
Instructions: How To Make Doll Pants
1. Prepare the Pattern
- Download and print the free sewing pattern for doll pants.
- Cut out the pattern carefully with scissors.
2. Cut the Fabric
- Place two pieces of fabric with their right sides (the side you want to show) facing each other.
- Trace or pin the pattern onto the fabric.
- Cut the fabric to match the pattern exactly. A 1/4″ seam allowance is included in the pattern, so no additional measurements are necessary.
3. Sew the Pants
- Pin the fabric pieces together along the legs and crotch area, right sides facing in.
- Sew along the pinned edges with a ¼ inch seam allowance, starting with the front and back seams before sewing the inside of the legs.
4. Finishing Touches
- Turn the pants right side out. Fit them on your doll to check the waist and length, making adjustments if needed.
- Hem the bottom by folding the fabric edge and sewing it down. For an alternative finish, use bias tape.
- For the waistband, fold the top of the pants over about 1 inch and pin. Leave a small opening for the elastic.
- Cut the elastic band about 1 inch shorter than the doll’s waist size. Thread it through the waistband opening, adjusting for fit.
- Sew the waistband closed, securely enclosing the elastic.
5. Final Adjustments
- Trim any excess fabric and loose threads for a neat finish.
Tips for Success
- Fabric Choice: Lightweight fabrics are easier to work with and suit doll clothing better.
- Customizing: Feel free to add embellishments like pockets or decorative stitching to personalize the pants.
- Elastic Threading: Use a safety pin attached to the end of the elastic to easily guide it through the waistband.
Happy sewing! This project is a fantastic way to practice your sewing skills while creating adorable, eco-friendly clothes for dolls.
Enjoy your craft and explore more patterns for doll clothes and making doll clothing with our printable 18” doll clothes patterns free.
More Doll Clothes Sewing Patterns
We have a wide variety of free printable doll clothes patterns, check out the gallery here.